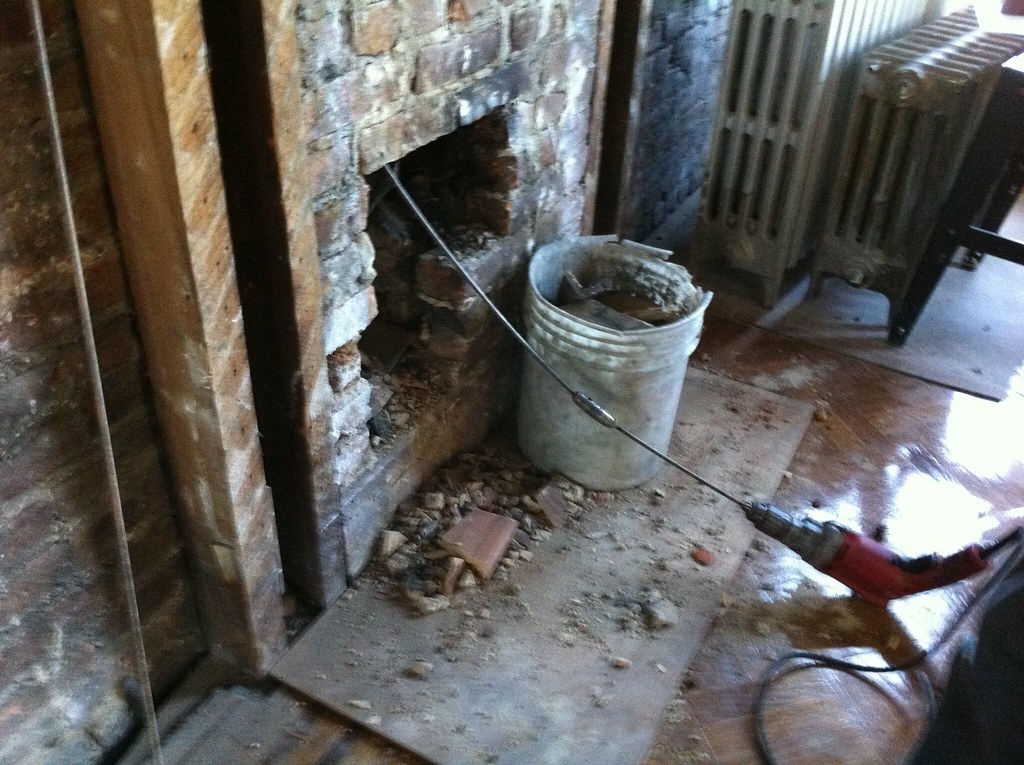
Monday, June 27, 2011

updates, progress, and family time!

a quick update:

This weekend was a flurry of activity at the house.  Polly's parents, Helen and Con had arrived from Australia on Wednesday, and we put them straight to work!  The mason finished the tuck-pointing, and I began the cleanup and prep work for the next phase--the framing.  Which is possible, because we were approved by the DOB!  If you are interested, here is the main link to the documents on the NYC DOB site.  More info than you can ever imagine...

Finally, we signed with BLUE GREEN RED, LLC to handle the construction permit, plumbing and electrical contractors, and consulting with us on the build-out and design.  Salem Darrow is now our General Contractor (GC).

Con helps out with the painting

Tuck-pointing complete--as complete as it is going to get...


Lintel repair complete

drywall hung in back room--now painted and complete
Backyard-view from 1st floor-all cleaned up and planted.  Note the bricks along the back fence and the plants along the left--all thanks to Helen (and Con, but mostly Helen) Dirt spot in center is where we dug up a slate stone, part of an old path, then reseeded.

Monday, June 13, 2011

bricks, mortar, and masons

Bricks


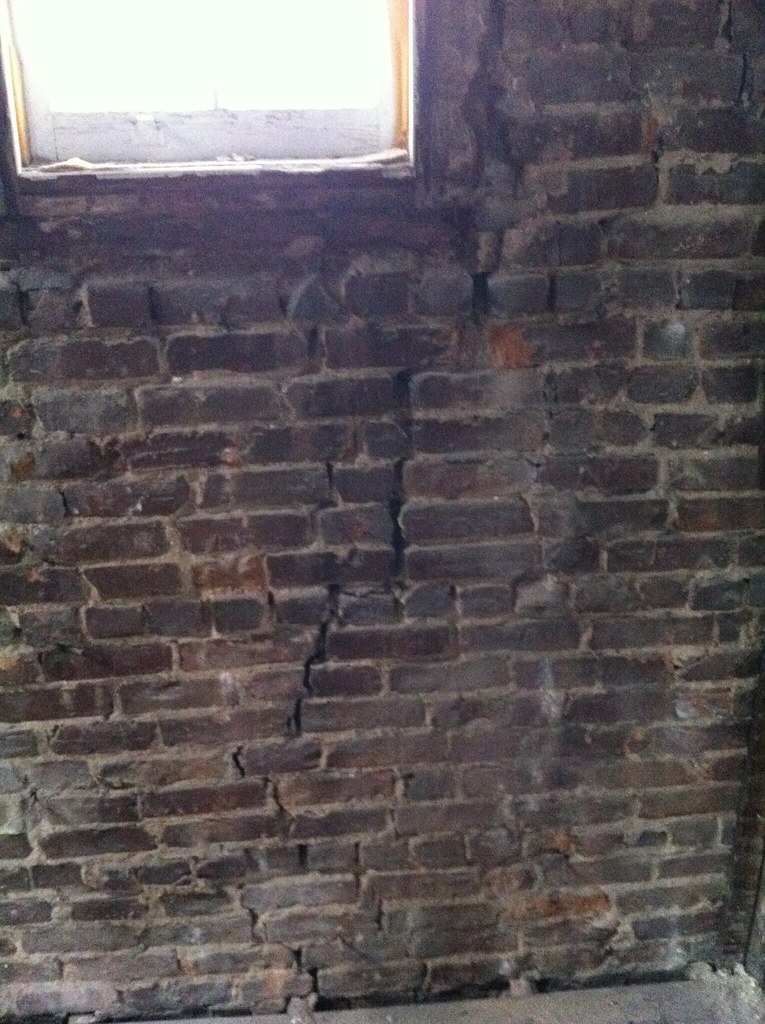
In investigating the lintels--or, rather, lack thereof--on the second floor "newer" windows, we discovered that the brick came from a company named The Rose Brick Company.  The link below provides a brief but interesting history of the company which made our bricks, as well as some famous NYC landmarks...


From the site:  "At its peak, The Rose Brick Company sold 400 million brick a year worldwide. Architects and builders recognized the superior quality of Rose-made brick. Rose Bricks were used in the Ansonia and Bell Nord Hotels, the Customs House at the Battery as well as the Empire State Building, the Linden Apartments in Riverdale, the Stock Exchange, the Singer Tower (now gone) and the Waldorf Astoria."

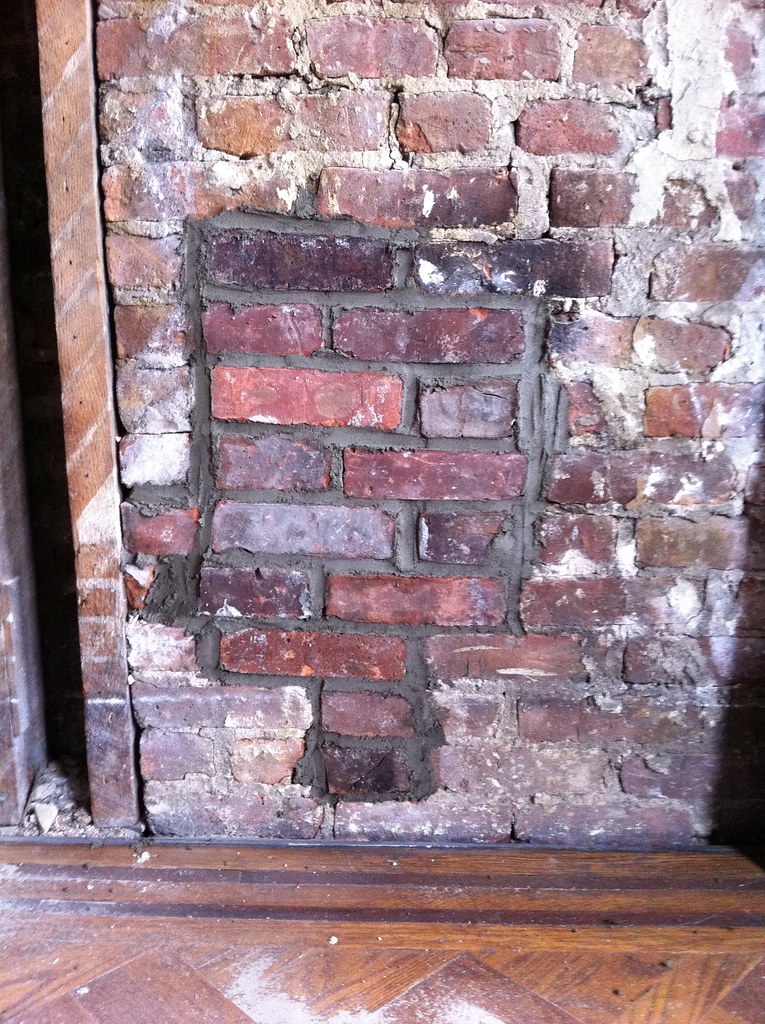
There are also some bricks labeled *DK* (see the mortar imprint , top left of the image)  which, according to the site, came from Hudson, NY.
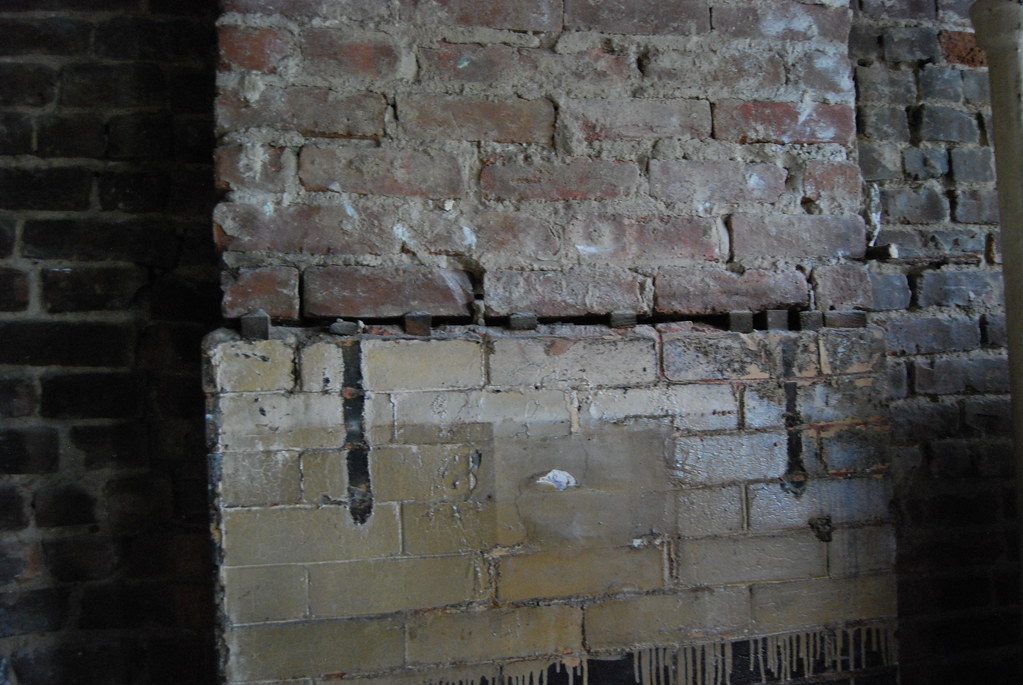
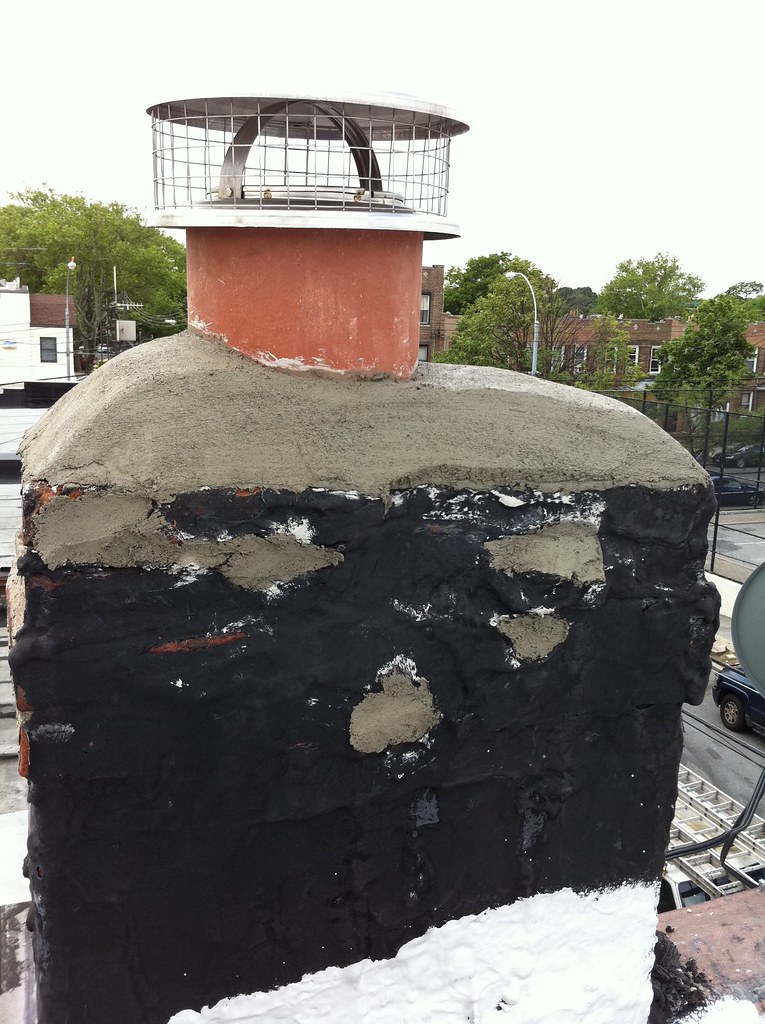
Mortar
The mortar holding the bricks in place is a cement-lime sand mix...mixed by hand 100 years ago.  Duplicating this mix will be nearly impossible w/o some chemical analysis.  I thought about having the mortar analysized, but after a bit of research, i decided the expanse was probably not justified, and we could get away with a "n" type of mortar mix with a latex additive.  I'll have the complete breakdown of the method and "formula" the mason decides to ultimately use.  More on this later. 

the first floor is taking shape; hired mason for second floor interior pointing

An update on the weekend's activities:  we managed to get the kitchen and bathroom of the first floor cleaned--with Rimina's help.  the floors were papered in preparation for paint, and the kitchen walls were stripped of the wallpaper and washed down with a TSP (Tri-Sodium Phosphate) solution.

Polly tapes down the rosin paper.


Three layers of vinyl wallpaper, one-two layers of paint--over the wallpaper, and at least one layer of much older paper-based wallpaper...spots on wall are old, inactive black mold...
The paper pealed off fairly easily--no need to steam or scrape all that much, thanks goodness.

TSP to the rescue!

Sunday, June 12, 2011

building plans off to the Queens DOB

I spoke with Eddie (the draftsman and asbestos guy) over text messages on Friday.  He indicated the plaster sample came back negative for asbestos.  The plans should be off to the Queens DOB as well.

This weekend finds us cleaning and prepping the first floor for paint, and the second floor for the masons coming in next week.

We selected NY NY Constructing Corp. to work on the interior tuck-pointing and window lintel repair on the second floor.  Much of the 1200 square feet of wall on the second floor (probably nearly half) needs to be repaired.  Below is an example. 
Chimney in the kitchen area--notice the original brick below the crack--it is facing brick, indicating it was exposed, and the crack was the result of a cast-iron mantel which was removed.  An original mantel exists in the basement on another chimney.   


The bathroom wall sustained the most deterioration over the years

There are two windows which were put in on the south wall later on--probably 30+ years ago... Always install a lintel, people!  Fortunately, this is only damage to the interior course of bricks. 

Monday, June 6, 2011

chimney finished; cleaning of first floor has begun

B&P Chimney came back on Saturday am to finish the job: repair the holes, place the cap on the chimney, and cement the crown. all and all, a quick 1.5 hours work for three men.

Samir of B&P works to set the cap and finish the crown


Repair work to the second floor

Finished cap and crown


Then, on Sunday, the fun began--the cleaning and prep of the first floor began in earnest. We removed the drop ceiling in the back room off the kitchen--

Polly working overhead

The removal of the drop ceiling reviled a second (or first, depending on how you look at it) "drop ceiling." Made from interlocking 12" acoustical tiles, this type of ceiling was also present on the second floor, and it is in the front room of the first floor. It was probably installed some 30-40 years ago

The installation of it involved furring strips and tar-like adhesive. fortunately for us, most of the old work was removed when the 24" panel drop ceiling was installed. There were a couple of partial courses of the tile along the perimeter of the room only. But, the nails remained, and needed to be removed for drywall to go up.

Polly works on filling the nail holes left from the removal of the drop ceiling.  Note the furring strips on the ceiling--making it really easy to cover the ceiling with drywall. 


Saturday, June 4, 2011

chimney re-lining

last non-tenant update: they are out, and the locks are changed.  ;]  the apartment needs a really good cleaning, as you can imagine. and then some paint...

but i wanted to update the blog with the chimney repair-reline which started yesterday,  Joey and two other fellas came by around 8:30a, and worked pretty steadily until 3p--save for 30 minutes for lunch.  

the clean-out involved knocking a couple of holes in the interior walls of the chimney--


Joey [Standing Right] and the boys

First floor, end of the day.  Note re-building supplies.


insertion of the final stainless-steel section into the chimney

B&P Chimney.  There were some 10-12 buckets of debris removed...